Now that I had gone through a lot of development and finalised my designs, I began to create my final outcome. I first of all started out with the initial prototypes. These particular prototypes were to show that my overall product will come in a variety of designs. The way my product will work is that the user will pick a jewellery design of their choice and then they will be able to attach it to the bluetooth ear piece themselves and if they ever want to change the design they can.
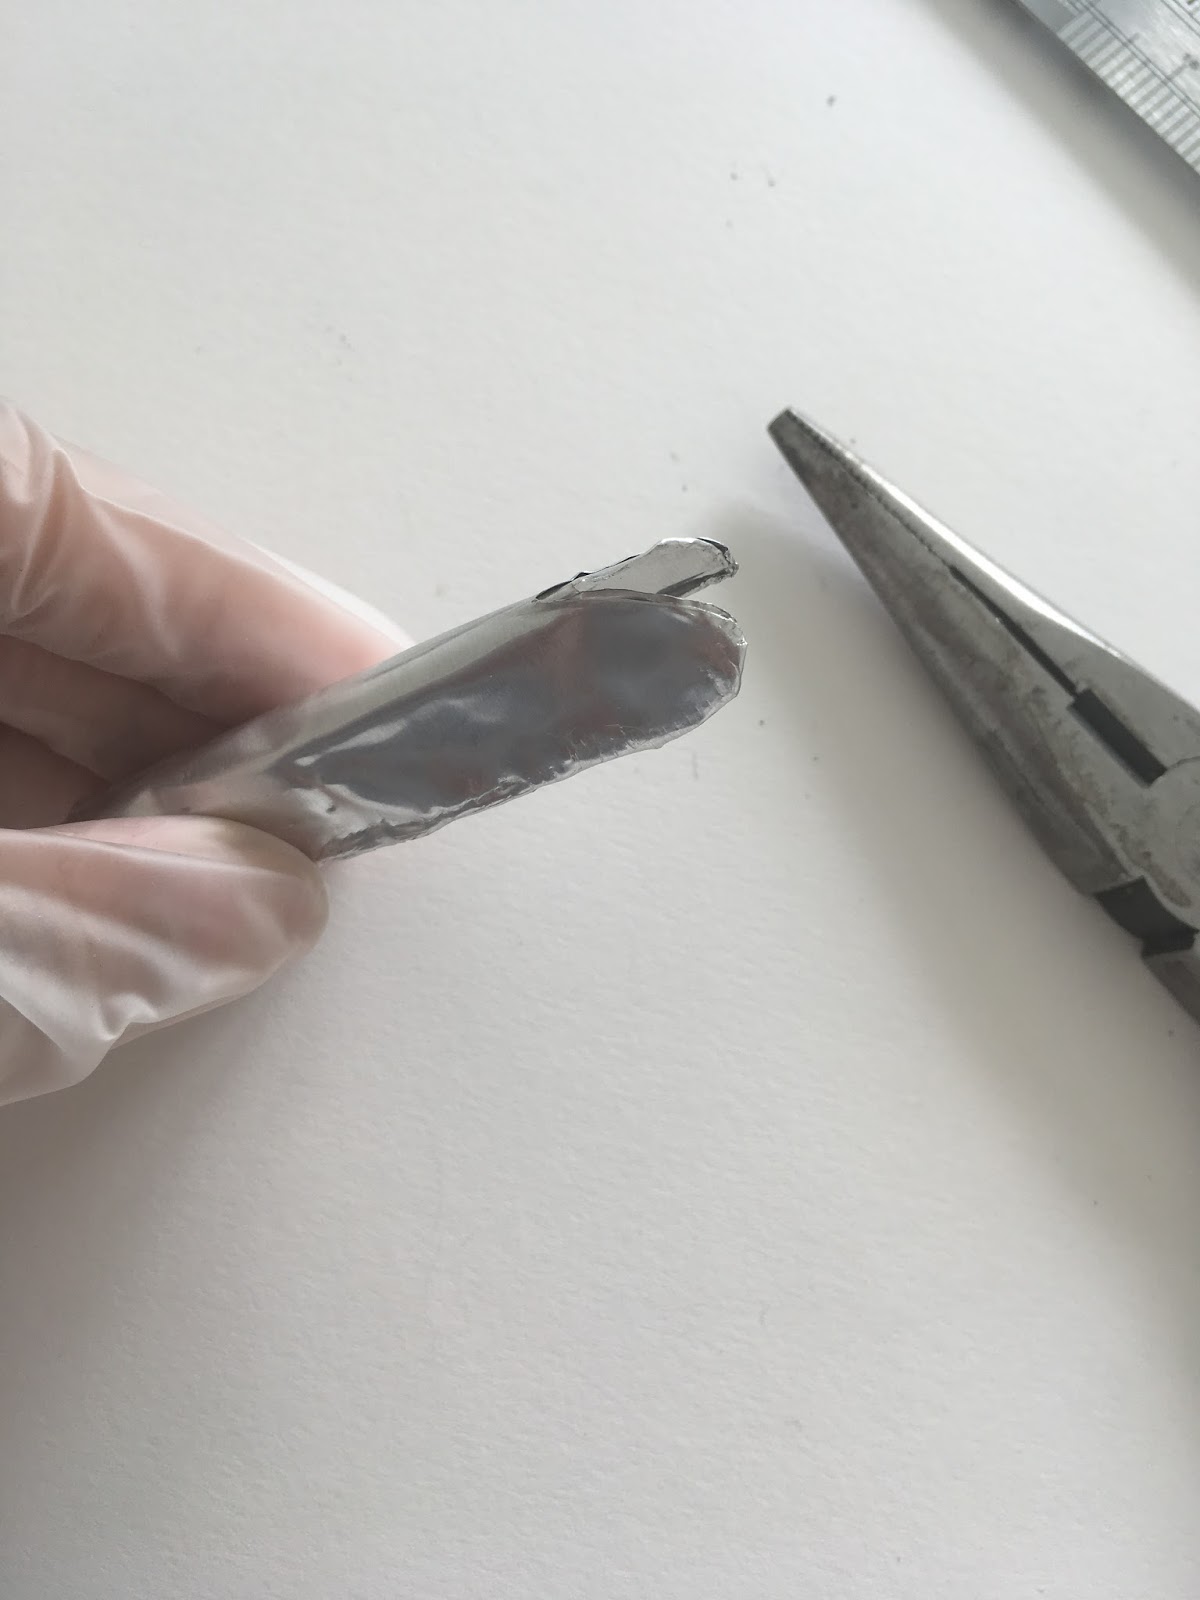
To create this these prototype the main steps for each one want to cut out a piece of allumuium with the sizing 4.cm x 4.c.m and then to fold in the edges with a plier and file them down, I then used a range of templates to cut out the particular design and then I crafted them into the different shapes. To create the different folds and bumps I used a flat pair or tweezers and the end of a pencil. After I had crafted the shape I then went on to add some wire or crystals to some of the prototypes.


FINISHED PROTOTYPES


Something I struggled with when creating my prototypes was getting the sizing accurate. Many of my designs were moulded around the ear so to create the exact curve and exact dip in the right proved difficult. I did manage to do it but it took a lot of patience and time. I think this is were 3D printing would have come in to use. If I had more time I would have extended the making of my prototypes and 3D printed them to minimise time and to create the perfect sizings.
Next I began to create my final outcome. The process was the same as creating my initial prototypes. I really wanted to use 3D printing for my final outcome but didn't have enough time. I used a template and crafted my design on the Aluminium sheet. While creating my final outcome I kept attached it to the bluetooth ear piece to ensure it looked just how I wanted to and that the dimensions were correct. I painted the headphone silver as I wanted it to all be one colour. I then used E3000 glue to attach the Aluminium to the headphone. The final step was to attach the Swarovski crystals to the headphone. Although the steps were easy, they were time consuming as I wanted to create my product to a high standard.
FINAL OUTCOME


Overall I am very pleased with how my final outcome has turned out. The headphone sits in the ear comfortably and the aluminium design does not irritate the user. I have received a lot of positive feedback on my final outcome. Many people said that it looks very professional and well made and it somthing that they would purchase. I have decided to present my headphone in a black jewellery box to keep it looking sophisticated and not to take away from the bling.
No comments:
Post a Comment